
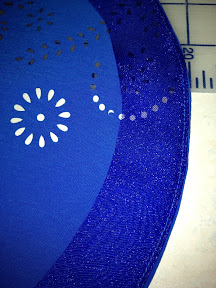
When I bought this beautiful blue microfiber from Gorgeous Fabrics, I envisioned a feminine spring frock, simply in structure, but eye-catching nonetheless. I think I achieved my goal.

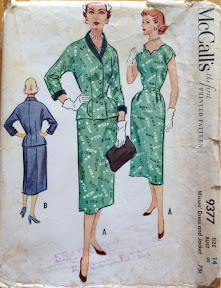
I started with Simplicity 1897, a "Suede Says" pattern, brand new for Spring 2012.

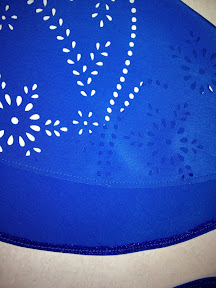
I wanted a straight skirt to feature the cut outs and scallop hem, and really liked the fluttery sleeves. I eliminated the front skirt overlay and ruffle from view B, and immediately added 4" of length to the skirt front/back.

I debated briefly in how to maximize use of the scallop/cut out on the sleeve, considering the trouble of doing a narrow hem through those cut-outs. I decided that some bias cut organza would help tame that hem, and moved forward.
I needed to buy a half yard of blue organza to finish the sleeve hem, cutting 1.5" wide bias strips, and stitching them to the sleeve with a 3/8" SA. I pressed and stitched for a clean finish, and trimmed away the extra. It's bias cut, so it shouldn't fray. It's slightly visible because of the "flutter", but not glaringly obvious.
Before serving the side seams, I tossed the dress on the check the fit in the hips and found 2 problems 1. It was a pinch snug, and needed a little letting out (3/8" SA) would give me 1" more room. 2. You could see my underwear. Yes, my underwear. In my tunnel-vision focus to place that pretty scallop and cut-out along the hem, it did NOT occur to me (even with the added length) that you could literally see through my dress (because of the height of the design). Dumb, dumb, dumb!!! Now what? I slip would be white and too visible. Add a lining? Maybe. As I stewed on it, I also decided that I should've added even more length, and that's when I got the idea! Adding a slightly longer skirt to the inside (attaching it to the waistline casing for the elastic) would fix both problems! Added coverage and a cute double scallop at the hem (added design feature)... Sold! But, was there enough fabric left over? I bought 2 yards, and it's 54" wide with the scallop & cut-outs along both selvedges. Even with the added length, I was able to cut the front and back dress pieces on a fold, and have enough border left to add those skirt layers! Holy Moly, this just might work...
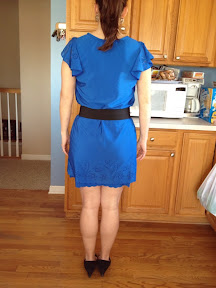
Yay! No skin is visible! Here it is with my cashmere jacket. This look makes me think of Kate Middleton...


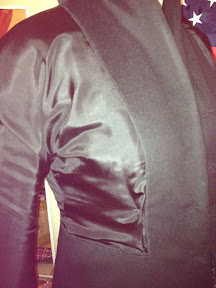
I ended up sewing a channel along the waist (where I attached the 2nd skirt) and fed a band of elastic through, to evenly distribute the gathering when belted. In the close up below, you can also see the bias strip folded over to finish the neckline. I'm pretty unhappy with this, as its got a ripple, even though I applied it and hand-stitched it super carefully. PITA...

So, in conclusion... I think this is a perfect marriage of fabric and pattern modifications! If you're planning on sewing this dress, add LOTS of length, and if in doubt... Add a couple more inches! Great style for a border print, and for the coming warm weather!